When it’s cold, I cook exclusively in the oven.
I’m not kidding, I scour the house looking for things I can bake. Cookies, bread, pizza, roasted chicken. Pancakes? Can you bake pancakes? WORTH A TRY!
The house just feels so much cozier when there’s something in the oven, doesn’t it? This is completely unrelated to my annual 15-lb. winter weight gain.
So when I ran across this craft in my Red Ted Art book, I stopped what I was doing and turned on the oven.

The craft was so simple, so fun, and turned out so lovely that I wanted to share it here.
1. Gather several smooth stones. We did this on a yucky, snowy/rainy day, so a rock-gathering adventure wasn’t in the cards. Thankfully David has a box of trash (things he finds outside) his bed that he calls his “collection.” There were just enough rocks in his collection.
2. Preheat the oven to 350 degrees. Place rocks on a baking sheet and bake them for 15-20 minutes. The rocks need to be very hot.

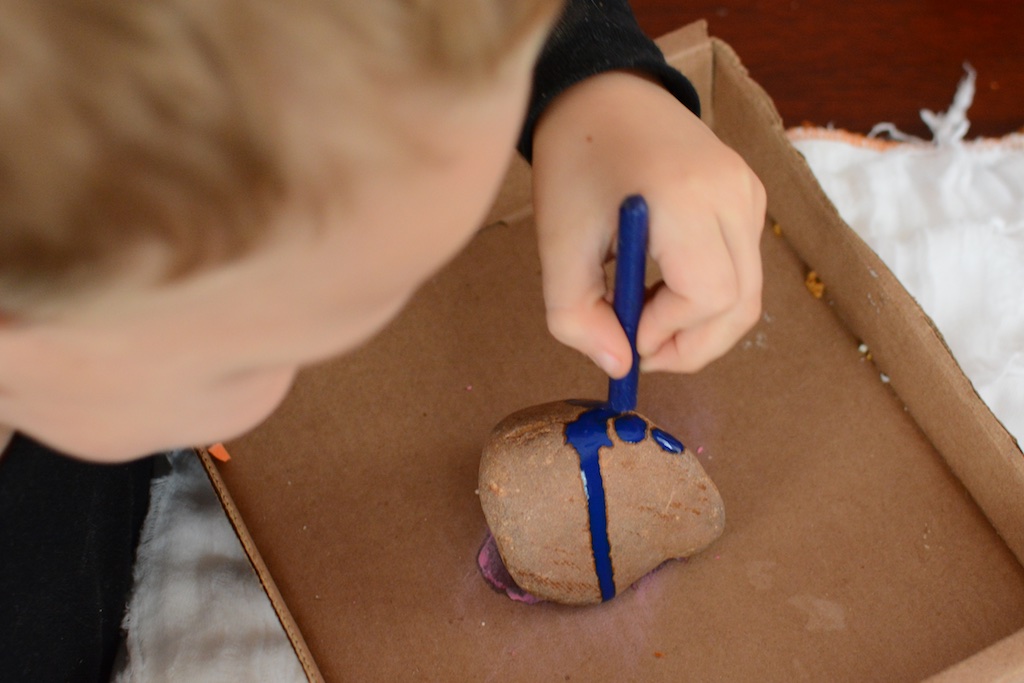
3. Prepare an art area. I used cardboard on top of two pre-fold cloth diapers because I was worried about the wax melting through the cardboard. It didn’t, but it’s always better to be safe than sorry.
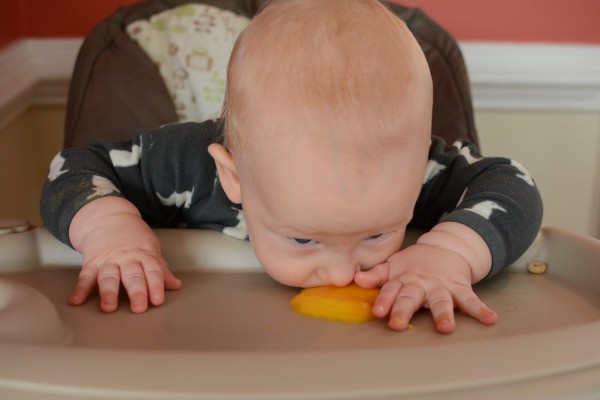
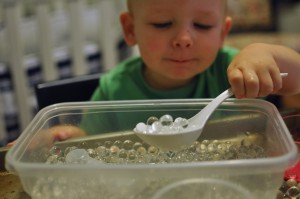
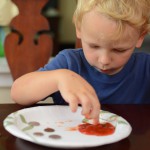
Meanwhile, give your baby a slice of mango and watch in amazement it occupies him so you aren’t even tempted to hold burning hot rocks with one hand while balancing your baby with the other.
4. This is a very important step.
Talk to your kids, over and over and over about not touching the rocks. We talked about it the entire 15 minutes that they were in the oven. I especially explained that the rocks wouldn’t look hot, but that they were hot. Even though we talked about it and talked about it and talked about it, the first thing Mary Virginia did was touch her rock. Thankfully, it wasn’t a big deal, and she never touched it again.
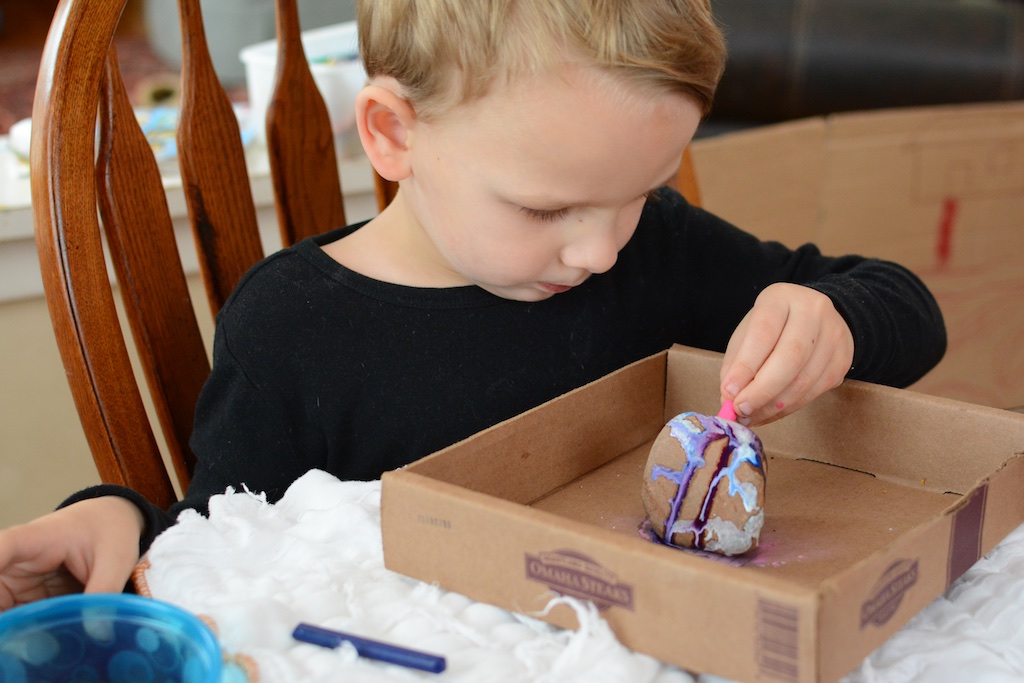
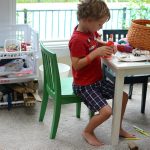
5. Let the creativity begin! Rest your crayon on the rock. Since the rocks are very hot, you won’t need to apply much pressure, the color just melts onto the rock. David called it “sliding.” Use lots of colors, they mix and swirl for a really beautiful final product.

6. Let the rocks cool and dry completely. The wax will pool at the bottom, so as I took it to dry, I sort of slid it across the cardboard to get off the excess wax. It took about two hours for the rocks to cool completely and the wax to dry.
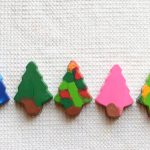
And look at the final product! I was so excited by how beautiful they are — they’re like little works of art.

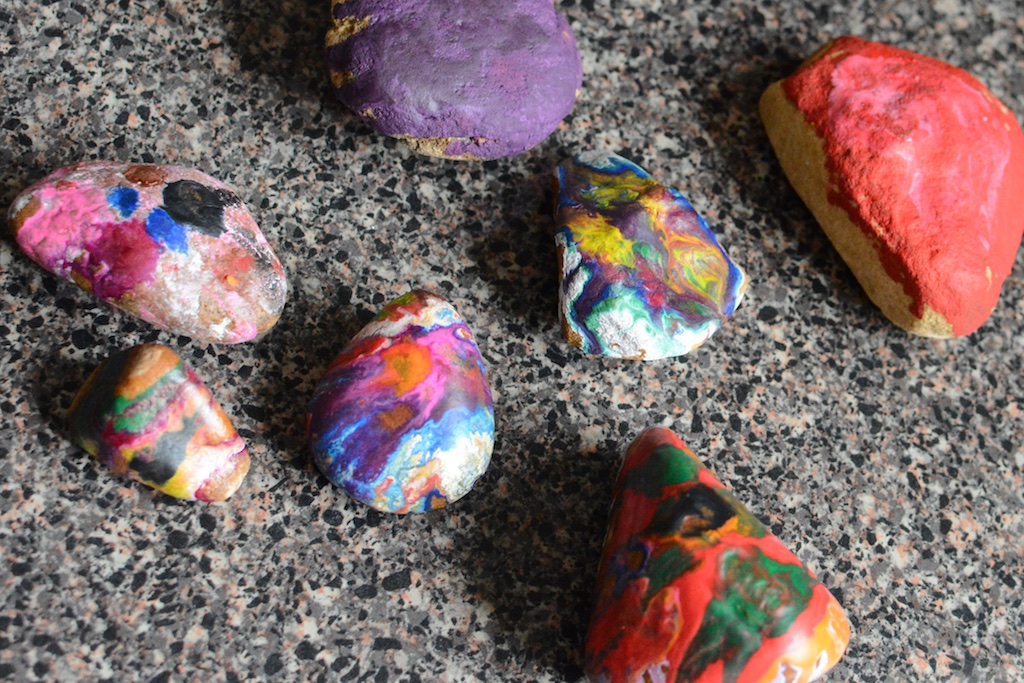
Even the solid-colored ones are cool.
Mary Virginia (age 2.5) had fun, but David (age 4.5) was fascinated. He talked about how the crayons slid better on some rocks than others (based on how smooth they were) and how, as the rock started to cool, the colors didn’t slide as well.
A beautiful craft that’s easy, and fun, with no special supplies, quick clean up, and only one burned finger.
I’ll take it.


This is awesome!! Definitely going to do it asap!
Brilliant! My kiddos will go crazy over this! Thank you for a fabulous idea! Pinned it!
What a fun craft idea. I bet my girls would love to make these and add them to their fairy gardens. They turned out so cool looking. Pinning!
Oh my goodness! You’re so right, these would be PERFECT for a fairy garden! Especially with glitter-y crayons!
This looks like a lot of fun! I am glad you also liked my post about creating large melted crayon canvases! https://thediynuts.com/collaborative-elementary-art-project-melted-crayon-canvas/